
Help / Getting Started / 1 min read
Setting Up Your Broker Company
An administrator checklist for branding, branches, users, communications, and lenders.
Verified August 13, 2026 · FastIQ staging Admin workspace v1.10.2
Company setup is spread across the Admin workspace; there is not one setup wizard. Complete the sections that apply to your organization, then test the borrower-facing experience before inviting the full team.
1. Add branding and borrower-facing links
- Open Admin from the top navigation, then select Branding & POS.
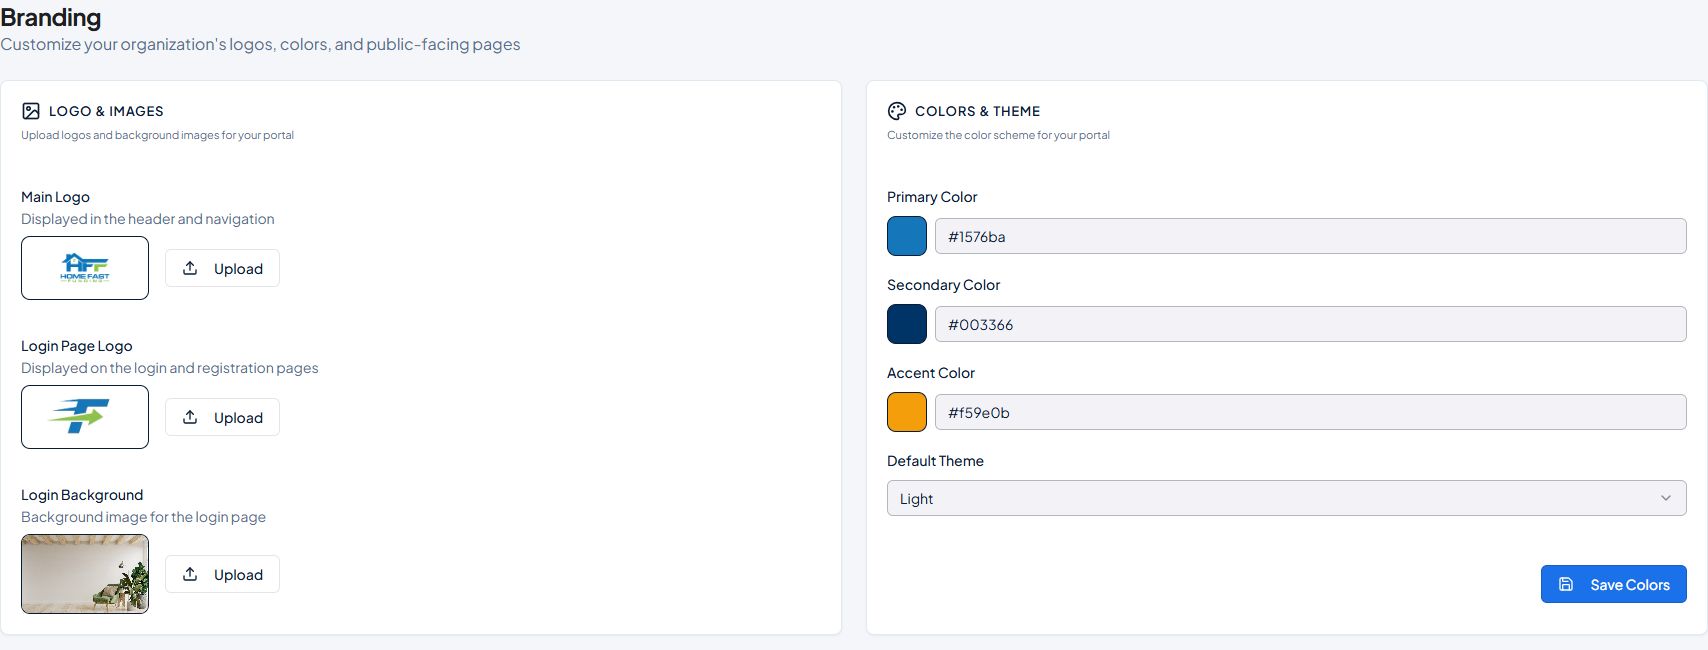
- Upload the Main Logo, Login Page Logo, and optional Login Background.
- Set the Primary, Secondary, and Accent colors, choose the default theme, and select Save Colors.
- Review the preview, POS links, analytics field, and white-label domain controls farther down the page.
2. Set up branches
- In Admin, select Branches.
- Select Add Branch for each location or operating team you need.
- Enter the branch details, then review the displayed location, contact information, manager, and loan-officer count.
3. Invite staff
- In Admin, select Users, then Invite User.
- Enter the person's email address and name.
- Choose the role that matches the person's responsibilities and data scope.
- Select Send Invitation. Use the Invitations tab to review pending invitations.
4. Review communications and lenders
- Communications: open Admin > Communications to review the organization's communication connections and settings.
- Lender Hub: activate the lenders your company uses, decide which appear on the consumer site, and configure compensation or company adjustments where required.